Installation
Download the latest release from the releases page
On Mac you may need to remove the quarantine attribute from the binary
xattr -d com.apple.quarantine /path/to/foyle
Setup
Download the static assets for foyle
foyle assets download- This downloads the static assets for foyle.
- The assets are stored in
${HOME}/.foyle/assets.
Configure your OpenAPI key
foyle config set openai.apiKeyFile=/path/to/openai/apikey- If you don’t have a key, go to OpenAI to obtain one
Start the server
foyle serveBy default foyle uses port 8080 for the http server and port 9080 for gRPC
If you need to use different ports you can configure this as follows
foyle config set server.httpPort=<YOUR HTTP PORT>
foyle config set server.grpcPort=<YOUR GRPC PORT>
Try it out!
Now that foyle is running you can open up VSCode in your web browser and start interacting with foyle.
Open up your browser and go to http://localhost:8080/workbench
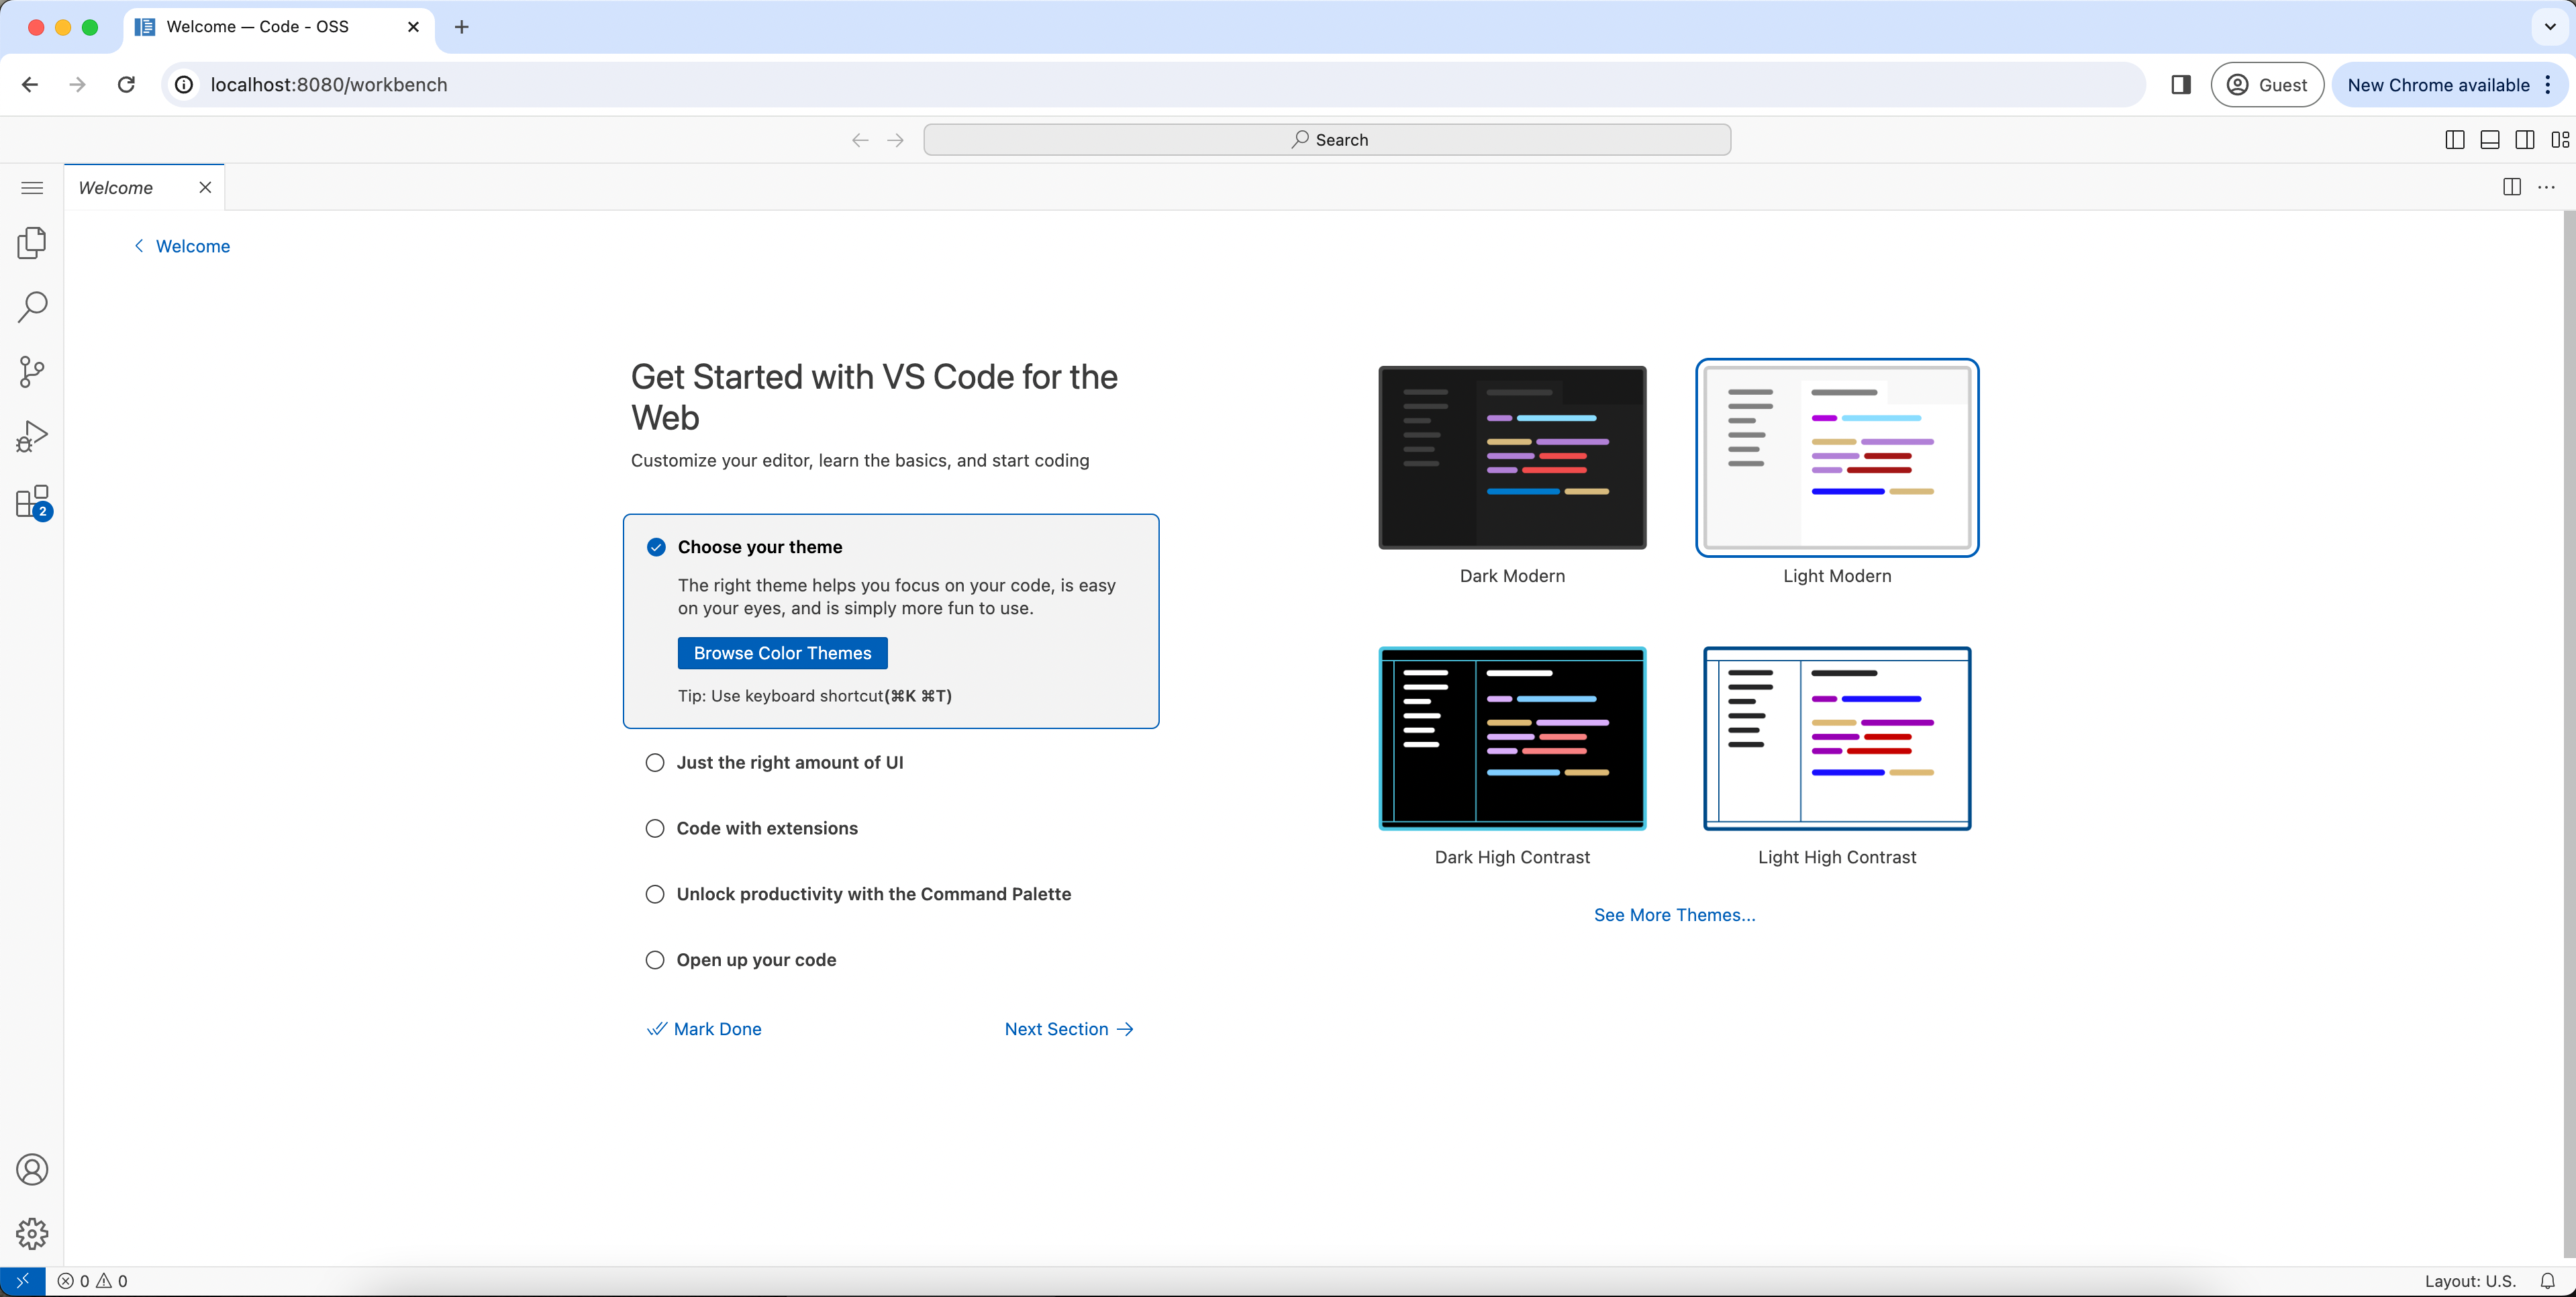
The first time you open the workbench you will be prompted to choose a theme as shown below.
- Choose your theme and then click
mark done
- Choose your theme and then click
Open the explorer tab by clicking the icon in the left hand side navigation bar
Inside the explorer tab click the link to
add a folder- Unfortunately Open Folder doesn’t work reliably. jlewi/foyle#21 is tracking this.
This should open a file explorer and you should select the folder where you want your foyle notebooks to be saved
- Your browser will likely prompt you to allow the site to access the file system; you need to allow this
You should now see the folder you selected in the explorer tab
Start a new notebook by clicking the
+icon in the explorer tabGive your notebook the “.foyle” extension
- Your notebook must have the “.foyle” extension so that vscode knows to open it using foyle
Click on your new notebook to open it inside VSCode’s notebook editor
You can now add code and notebook cells like you normally would in vscode
To ask Foyle for help do one of the following
- Open the command pallet and search for
Foyle generate a completion - Use the shortcut key:
- “win;” - on windows
- “cmd;” - on mac
- Open the command pallet and search for
Customizing Foyle VSCode Extension Settings
Customizing the server endpoints
If you are running the Foyle server on a different port or address then you will need to change Foyle’s VSCode settings.
- Open the settings panel; you can click the gear icon in the lower left window and then select settings
- Search for
Foyle - Set
Foyle-notebook: Agent-addressto the address of the Foyle server to use as the Agent- The Agent handles requests to generate completions
- Set
Foyle-notebook: Executor-addressto the address of the Foyle server to use as the Executor- The Executor handles requests to execute commands
Customizing the keybindings
If you are unhappy with the default key binding to generate a completion you can change it as follows
- Click the gear icon in the lower left window and then select “Keyboard shortcuts”
- Search for “Foyle”
- Change the keybinding for
Foyle: generate a completionto the keybinding you want to use